Showing posts with label jewelry. Show all posts

Saturday, June 8, 2013

Where do you put your jewelry?

I think some people really try to make every thing neat and organized when it comes to safekeeping their large jewelry collection, but then there are other people like me. I throw things into one big pile in a jewelry box. But I have several boxes, one for rings, one for earrings, one for necklaces, one for bracelets, so I'm not so bad after all, right?

If you like jewelry, then you probably like jewelry boxes too. I do! I kinda collect them. My best friend recently gave me one as a present and I love it!

So that got me started hunting for other really cool jewelry boxes on Ebay, because that is just where i go for some reason...

Here are my favorite finds!!!


I guess I'm into really intricate heavy brass jewelry boxes. Click on the pics to see more details. Share some of your own finds, I love to drool over these things! 


Wednesday, May 1, 2013

Rocks and Rainbows

The reason I went into jewelry-making was my love for rocks. Sounds lame right? When I was little, my mom bought me this book on geology , it had tons of info about rocks and fossils. I would read it over and over again, and I even tried busting open some plain rocks hoping there would be crystals inside. These days, you might have noticed the rocks that designer's have been incorporating in their pieces which have a very natural and colorful sheen.  

First of all, there is Pyrite. It's a gray, shiny rock that has been making appearances everywhere. And I must say, I think it is soooo beautiful. 

Yves Saint Laurent made a nailpolish color based on this mesmerizing nugget. And I must admit, it doesn't look too bad.

I use Pyrite in it's gray form in many pieces of my jewelry: 
Pyrite Chip ChainBohemian Blue Pyrite Necklace, gold silver raw nugget wire wrap rainbow
Pyrite Chunk Chain, raw druzy silver pendant ball mica fool's goldPyrite Chunk  Ring, adjustable bronze filigree fool's gold vintage victorian nature rock iron ore 

And it gets better! There's a form of pyrite which is called Peacock Pyrite or it's scientific name Chalcopyrite. It is still fragile like it predecessor but has a beautiful rainbow sheen that simply glistens in the sunlight. Here's a ring I made from a big nugget.
 
Image of Panzell Jewelry "Peacock Pyrite Chunk Ring" Peacock Pyrite Chunk Chain

Aren't you captivated by now. But there's more, lately, jewelry suppliers have began treating regular druzy crystals with a gaseous form of titanium which gives a similar rainbow like coloration. 
 
 And I've been drooling over the other forms of this titanium rainbow treated rock all over ebay (its my go-to for supplies). Expect to see these goodies incorporated in jewelry if you haven't already. I think it closely correlates with the galaxy print trend that has taken hold, it's about intense hot colors and a futuristic look.


Wasn't that pretty? Well, I hope you enjoyed this post and learnt something as well. These are relatively cheap and affordable and add such a splash of color and interest in any jewelry piece.

Thursday, April 11, 2013

My First Custom Order

About a month ago, one of my close friends told me about his buddy who wanted a custom ring for his girlfriend, which included a couple small stones that were her birthstone and those of her closest family. 
They wanted a wire wrapped ring in a size 7, and even though I knew how to wire wrap, I had never done it extensively before so this was a first for me. 

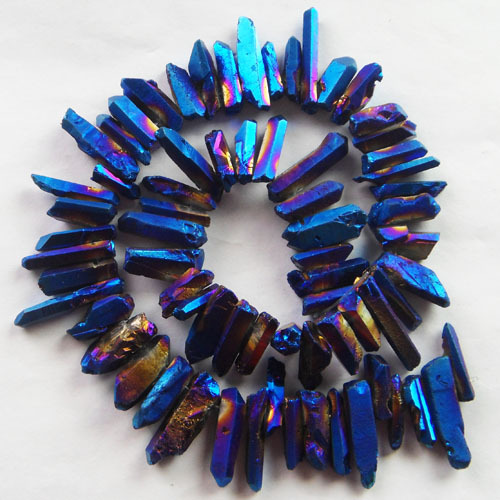
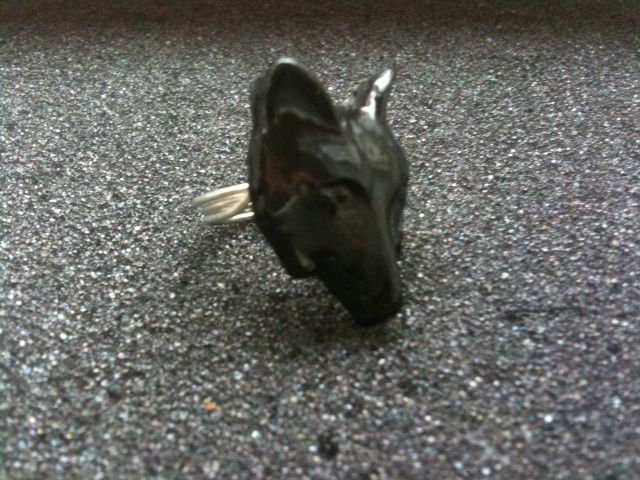
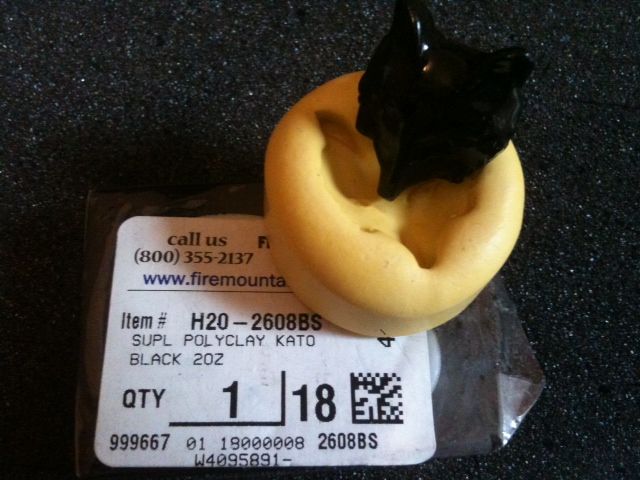
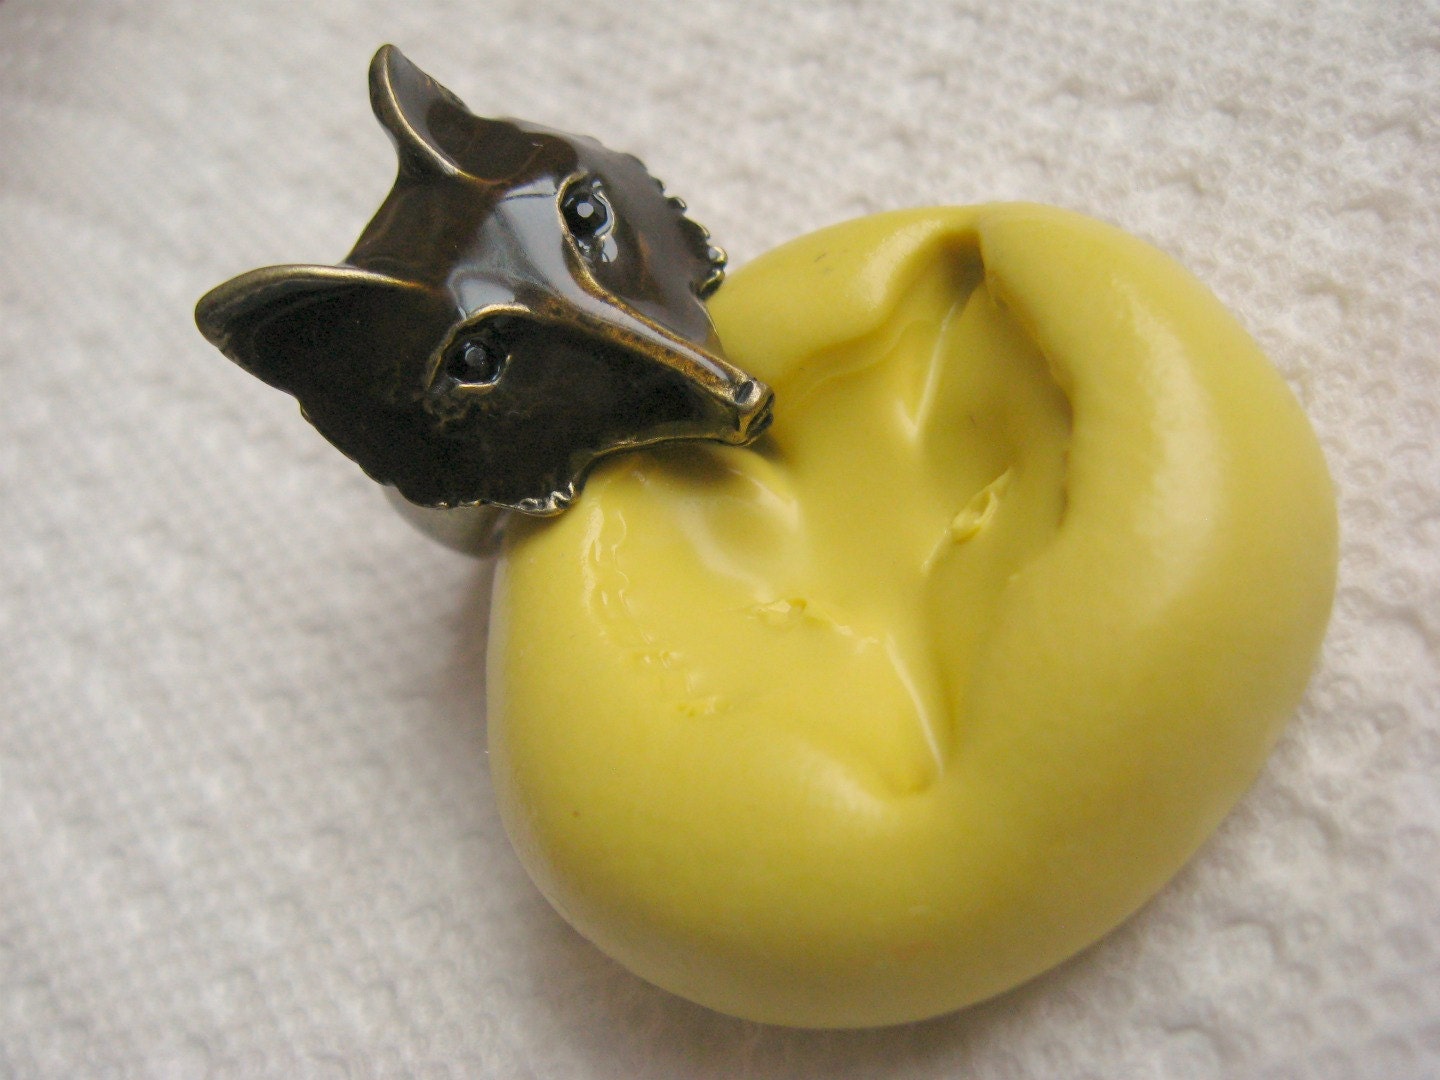
This is what I had to work with 

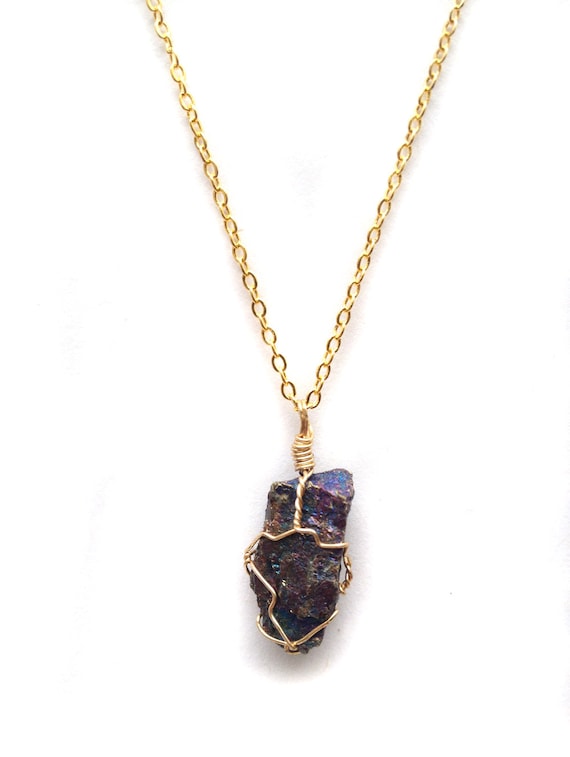
First thing I did was a couple of sketches to give my client an idea of how the ring is going to look. Usually with stones, designers use prongs or a bezel setting, and they have access to tools that help cut and polish stones to perfection. Since I had neither of those options I decided to hold the rocks together by sandwiching them between wire frames. 

My client was very happy with this sketch so far, so I began the process of making the ring.

I followed my sketches, and was able to easily get the first four stones to stay, the last one was a little too thick and I had to do some risky hammering, hoping to now fracture the gem too much. It was a heart stopping moment, but I was able to do it and carry on with the design. 


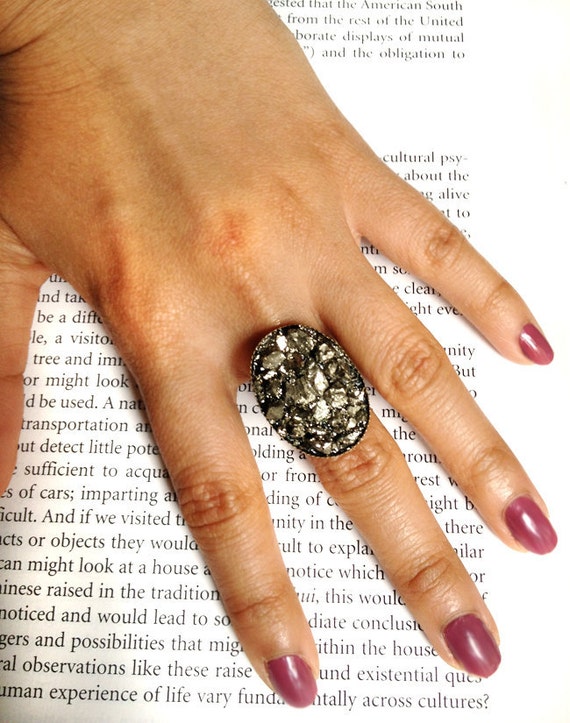
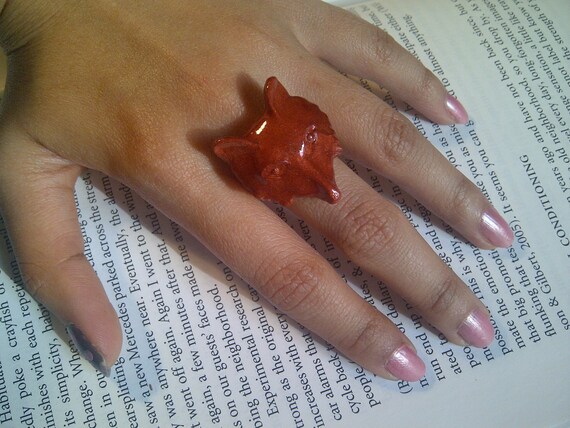
The final moments of the ring where I attached the ring band, and started to do the most intricate wire wrappings all around the frame to hold it together. In the end, it came out sturdy and beautifully, and I really surprised myself. It was my first intricate wire wrapping custom order, and proved to myself that I can do anything, and believe me I was having doubts midway into the project. 


Not bad right? I don't know if I'll ever do something like this, but it was great to find out that I could. 
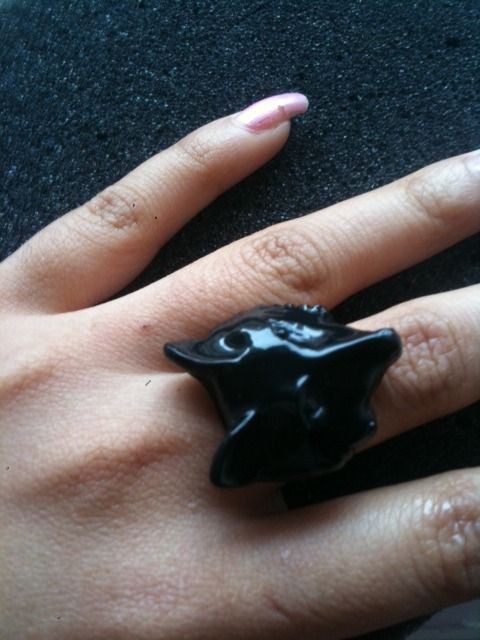
My client and his girlfriend were absolutely happy, and the fit was perfect. Yay! 
Thank you for reading this post and joining in on my little custom order journey. 

Wednesday, October 31, 2012

DIY: Colorful Star Necklaces!


I love how everyone underestimates the potential of nailpolish. Not only does it come in several colors, it tends to stick pretty well to most surfaces, and I love using it in my crafts!
Just follow these steps to make your own!!! Wooo craftiness!

I purchased these stars from a seller off Ebay. If you don't have stars, that's ok, you can use any object that has an open center, like circles or squares, they would be cool!
Doing this is a little tough and you might end up sanding your nails. Tip: put the star between two pieces of sandpaper and rub back and forth.
Colors!!! Solid colors work the best, glitter and metallic polishes...not so much.


What can I say? Your fingers will get dirty so have fun with it!

You open the jumprings and close them, connecting the stars in a row. Like shown with the neon stars. You can make this colorful "star chain" as long as you wish!
Neon Stars on a Gold Necklace
Winter Neutral Stars on Silver

Tada! That's it, and the potential outcomes are countless. Let me know if you like my DIY tutorial.
Questions? Email me at panzelljewelry@gmail.com


Friday, February 3, 2012

Foxy Love!!!

Made some super awesome rings from my fox mold.

FOXY BROWN RING


FOXY LOVE RING


I have pendants in this form coming soon!!!!

Saturday, January 28, 2012

Tricks to determine your Ring Size

Most people are not aware of their ring sizes, and unless you are involved in the business of making rings, you might not ever see the need to find out. Professionals use a special set of steel gauge rings, which typically looks like this:
 

But since most of us don't possess one, I'll help you figure out your size using other conventional methods. If you have a printer, try out this print-out from Zales. It's actually really accurate and easy to use:
http://images.zales.com/images/popups/zales_ringsizer.pdf

Another method would be to take a piece of string or paper and wrap it around the base of your finger, mark it, or get a friend to help. Then use this Table to determine your size:


Still don't know your ring size? Well you can use the "Friend Method" which works in several different ways.
1) Ask a friend if he or she knows their ring size and try on a ring of theirs. If one happens to fit, then that's your ring size.
2) Compare hands to your friend's. The average women's size is about a 7 or 6. If you know for a fact that your hands might fall into the average category, then it's safe to assume that those might be your sizes. If you have smaller hands, and you'll know this as a fact because people tend to mention how tiny your hands are, then you'll be in the 5 - 4.5 range.

I hope this helped with finding out your ring size. And remember to keep in mind that your fingers tend to swell depending on the time of month or time of day.
Happy Sizing =]


Tuesday, January 24, 2012

Bunny Bunny Bunnies!

So I've been trying my chops at sculpting lately. Anyone who has ever known me, knows that I adore cats! But I also love those cute, furry, defenseless creatures which are rabbits, but I like to refer to them as Bunnies!

Here's a bunny head I tried to make out of polymer clay:

Not bad for a first try, but I've got a long way to go. The ears are clearly not long enough.
My problem with sculpting this was my lack of direction, so I decided to google the phrase "bunny head" and here's a few interesting pictures that turned up. Enjoy!


Saturday, January 21, 2012

Fox Ring

So I ordered a fox mold off a seller on Etsy. I could not wait to test it out! So here are the results:


So I used Black Polymer Clay for the molding substance, 18 gauge wire for the ring form and a file to even the edges out. I can't wait to try it out with metal clay!